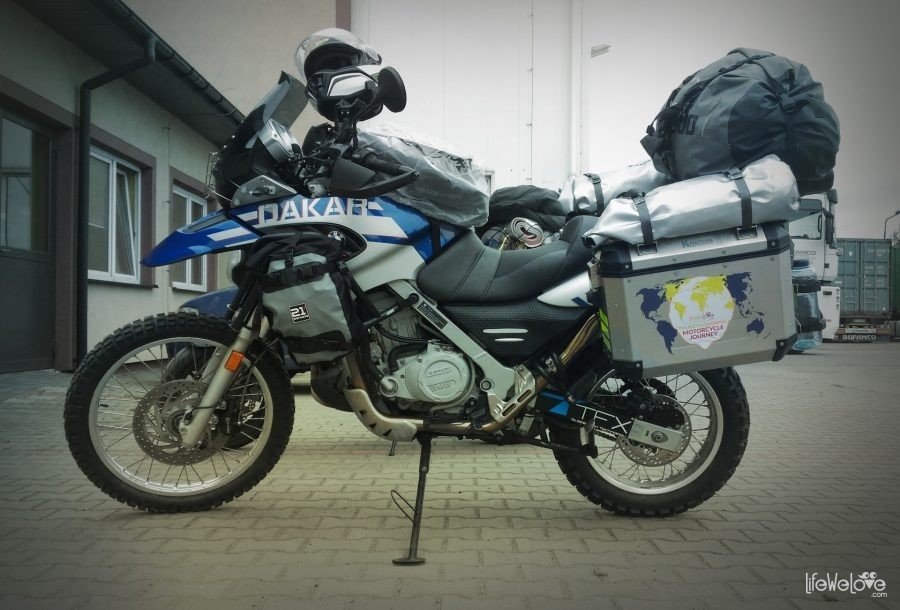
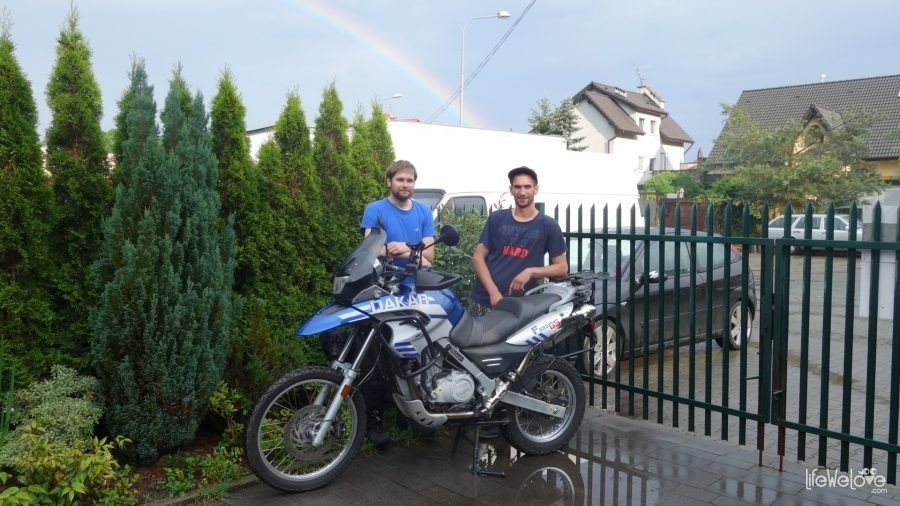
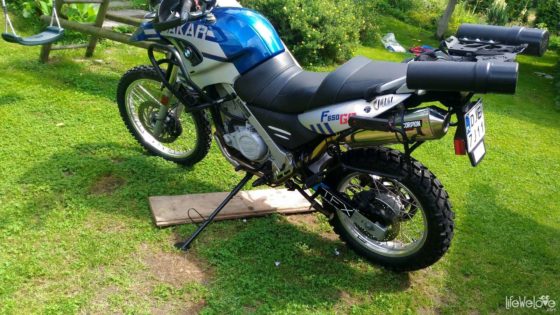
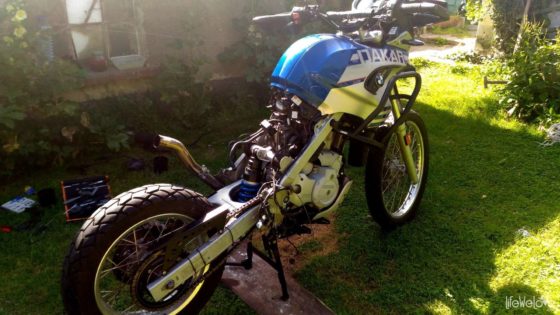
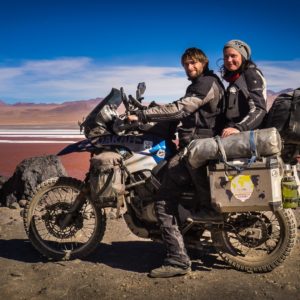
Our motorcycle has already begun its journey. It’s sailing to the USA. We’ll we fly there soon. From the moment of its collection from the harbor, our Dakar will become our steed to carry us, along with our folding little house and belongings. It also will be our devoted friend and travel companion, on which so much will depend. So I had to prepare it as well as I could. Having a limited budget I still managed to make the most important maintenance work and necessary improvements.
What was done in a service?
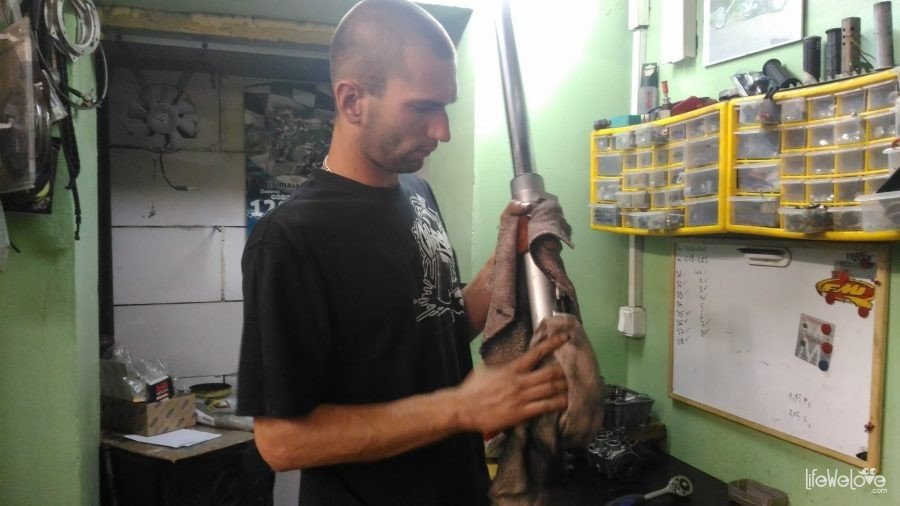
The first one to take care of our Dakar was Habit from the Motorap Service in Wrocław, Poland. The job done by Habit included:
- Adjusting the valves.
- Replacing the clutch disks.
- Replacing the chain tensioner (at mileage over 40 thousand km it’s recommended to do so).
- Replacing the guide rails in the timing gear (in our previous GS, one of the guide rails broke at mileage over 50 thousand km).
- Clean the throttle housing.
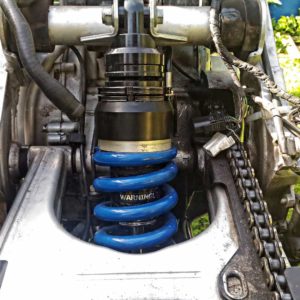
- Replacing front suspension springs on the progressive brand TFX Suspension with changing oil to 15 W.
- Replacing the rear shock absorber with the TFX 140 Emulsion shock absorber along with a hydraulic adjustment of preload (from experience of other travelers I know that the original shock does not not withstand the long distances and high load).
- Replacing bearings and seals in the swingarm and wheels.
- Replacing the water pump (sealants, however, I bought from Corteco brand, made of NBR); additionally replacing plastic gear racks of the pump.
- Replacement of a steering in a head bearing.
What else did I replace?
Below is the list of other things that had to be replaced:
- Fuel filter, which according to the manual should be replaced every 25 thousand km.
- The oil and the oil filter.
- A regular air filter I replaced with K&N filter, due to the fact that it is for life. Apparently, also gives you a little more power ;) The downside of this is that after cleaning the filter, you have to lubricate it with a special oil, which you need to carry with you.
- Coolant, it is recommended to pour the one designed for motorcycle or some that boils at the temperature of at least 125 degrees Celsius. When changing the coolant, I cleared the entire cooling system using a distilled water. It turned out that within the entire system an exfoliated paint was floating. After removing all the rubber cables, it turned out that peeling paint was coming from pipe in the frame. It cleared it all using a sandpaper, so the problem will never repeat.
- Brake fluid.
- Brake pads.
- Rear brake disc.
- Tyres, Continental TKC 80 on the front, Heidenau K60 Scout on the back. TKC 80 is characterized by very good adhesion on wet and dry asphalt and in the field. On the back there I didn’t choose Continental because of the short life of the tire for such price. This is not, in my opinion, a tire for long travels as it needs to be replaced quite often. That is why the choice fell on the tire Heidenau K60 Scout, which has equally good parameters and significantly longer service life.
- The spotlights, smaller than the original ones and flexible.
- Rear lamp led, the original one was very faintly visible. It was observed by all friends riding behind us. I replaced it with the homologated lamp of Ducati Monster.
- The original exhausts were replaced with a single Scorpion silencer. It resulted with an improved sound, the weight reduced by half, and nee free space for the tube with tools.
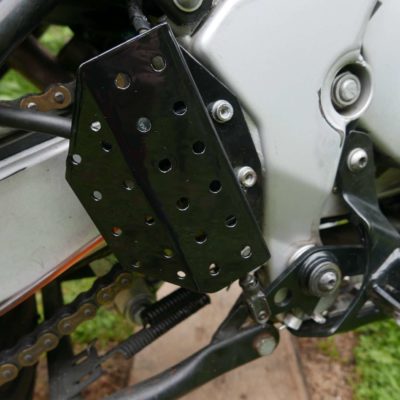
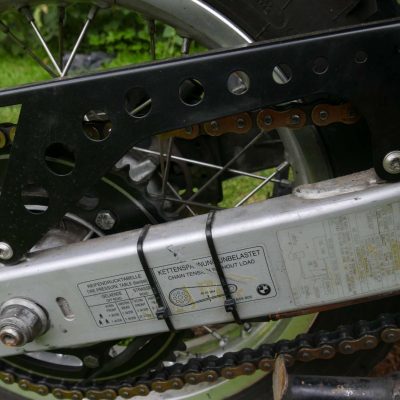
- The plastic cover on the chain and the ABS sensor were replaced with the covers made of stainless steel.
- Candles replaced with the iridium ones.
Other modifications made with the motorcycle
One of the first things we had done in Dakar was modifying a couch. The couch fell into the hands of a master Nosferek in Wroclaw, who already has an extensive experience in sewing seats. Not only had he sew our seats but also replaced a sponge for a more convenient one.
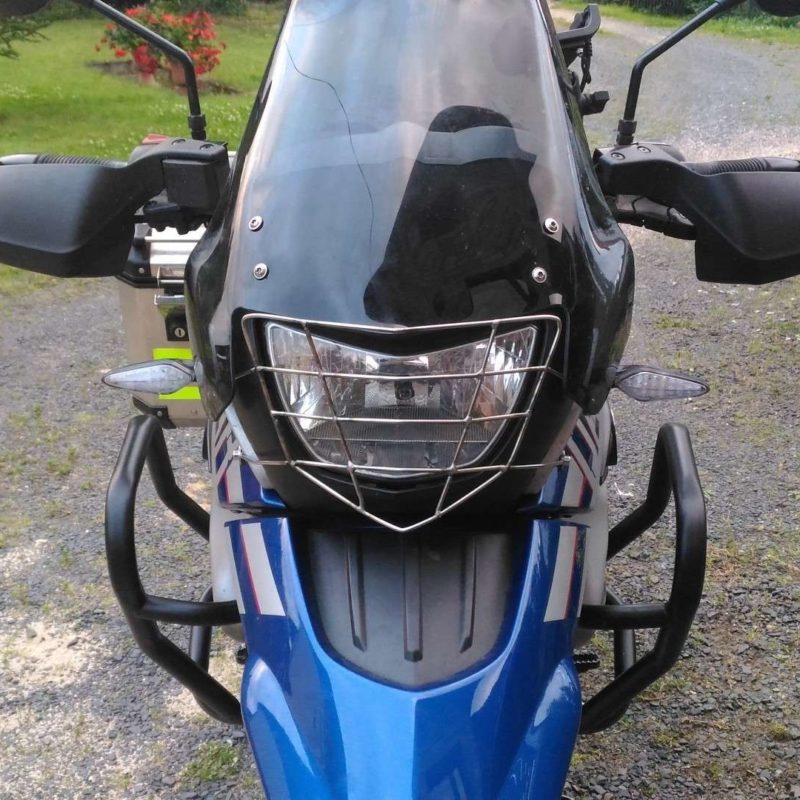
I put the engine guards of the Heed brand that protect the sides of the motorcycle and should also protect the engine, which will have no contact with the asphalt during the fall. It gets worse in the natural area where the protruding stones may damage the side of an engine. To prevent this it’s best to purchase the bottom engine guards. Unfortunately, we did not have enough budget for it. There was a plan to do it with a metal rod in the workshop of a friend, but there was not enough time.
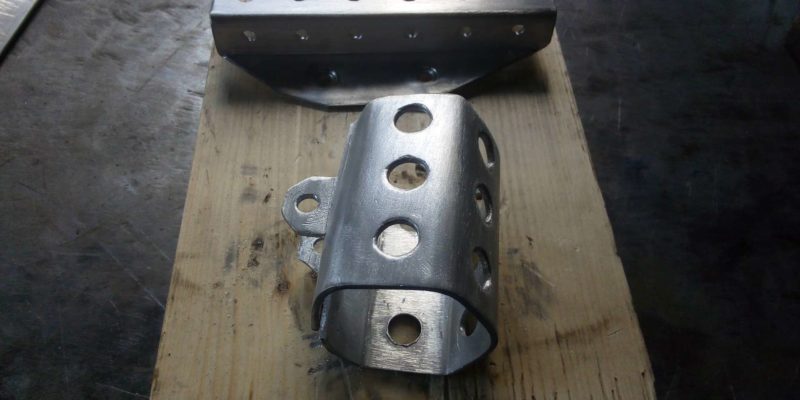
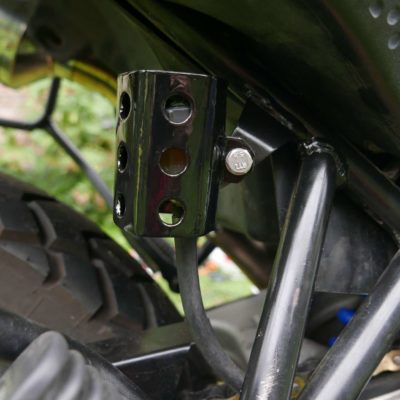
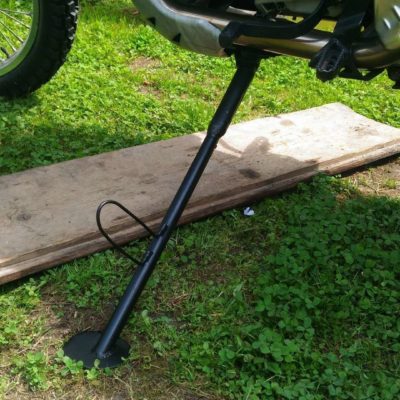
We were able to personally make the cover of the rear brake master cylinder, brake fluid reservoir and cover of the front of the lamp. My friend did a good job because he made everything by hand, starting from cutting an aluminum sheet and forming it into a proper shape to painting. For a few days we were fighting with a side stand. Everyone who rode a BMW F650 GS / Dakar knows what it’s all about. Engineers from Bavaria did not show off in this matter and motorcycle tends to lean so heavily to one side as if it’s about to fall. Laden with cases it’s barely standing, and one can only dream about bringing it up alone. We tried to do something with the original side-stand by changing the angle of deflection and extending it, but in the case of the revised angle the leg was moving too close to the ground. In turn, the extended one was bending, the motorbike was to heavy for it. So we did a new stand with half-inch pipe giving it a little on the length and stiffen the spots exposed to bending.
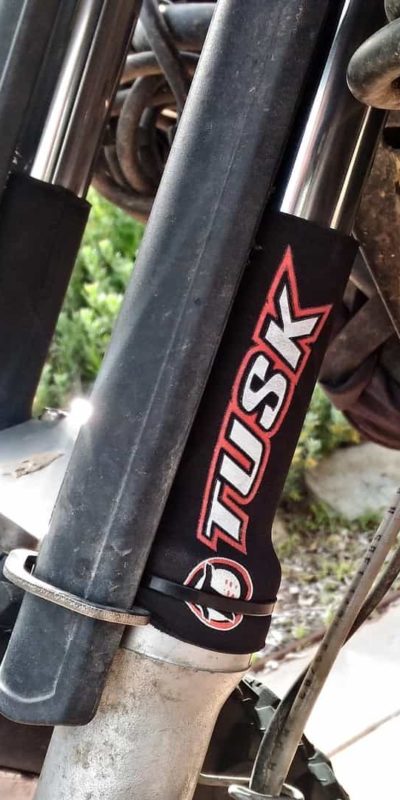
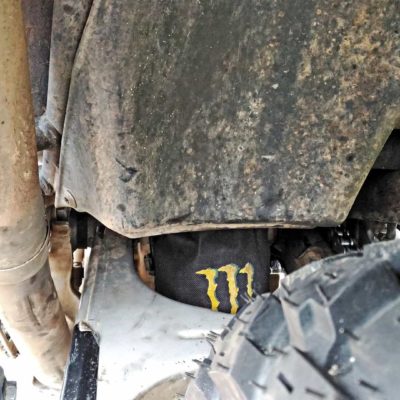
As far as the guards are concerned, I bought the plastic guard for the front suspension and put neoprene covers on the pipes. Earlier I used the rubber one, but pretty soon it broke. To provide protection from mud and water and also extend the life of the shock absorber I put on it a protector made of waterproof material.
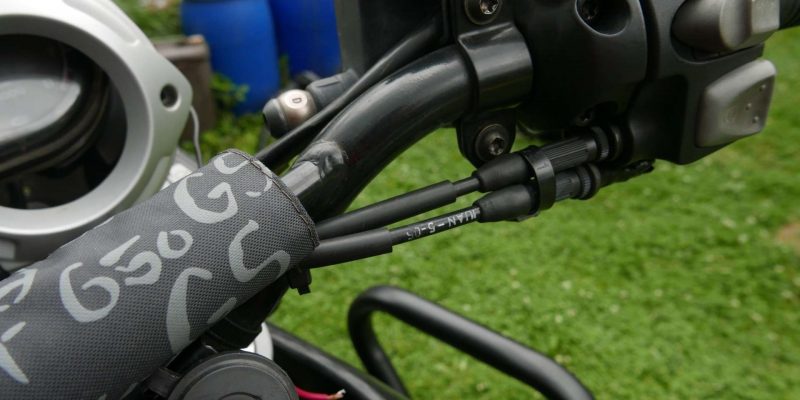
I also added a new throttle cable and clutch next to the old ones, so that in an emergency they can be quickly clasped.
So to not carry a spray to lubricate the chain I added the Lubrixa chain oiler. I’ve been familiar with the oiler for years and I’m pleased with it. There are several manufacturers of this solution on the market. I chose Lubrixa because of the good electronics, including the selection of driving programs by which oil is being more or less frequently added. The second thing I appreciate is an option of idle oil control when connecting the slack. The oiler operates on the principle of gravity passing oil through the solenoid. The downside of oilers is that when the oil is added too much, it stains trunks, rims and even a tire.
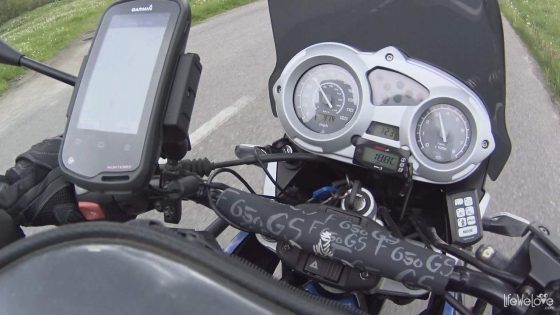
In addition to the oiler control unit I installed a thermometer with a function of the watch and voltmeter. Knowledge of the prevailing temperature can be helpful in very hot places. Too high temperature would suggest to enter the shadows and wait through a largest scorcher. Voltmeter will check the battery voltage but also recognize the failure of the alternator or voltage regulator.
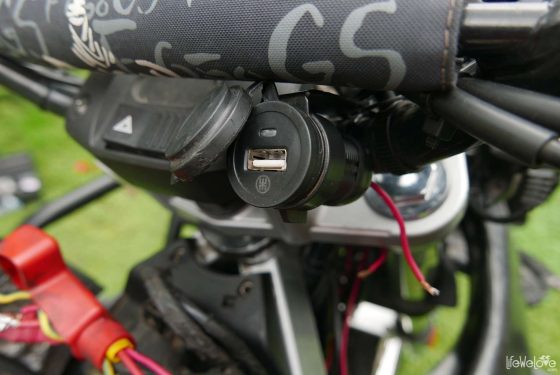
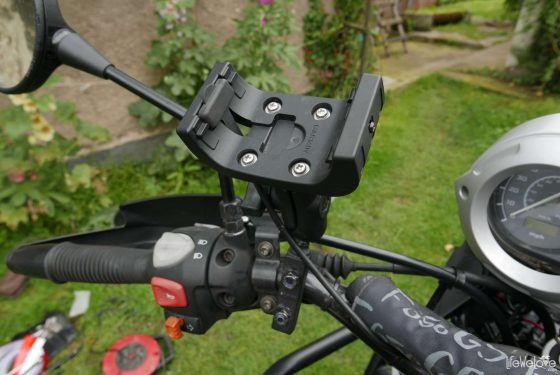
On the left side of the cockpit I have a cigarette lighter socket connected to the ignition that only works when you turn on the ignition. In addition, I have one USB port combined with the navigation power supply, which I can turn on and off whenever I want with an installed switch. I used such a solution to not immediately interrupt charging a navigation and USB port. When it comes to powering a navigation I have a handle to the Garmin Monterra device, along with power cables.
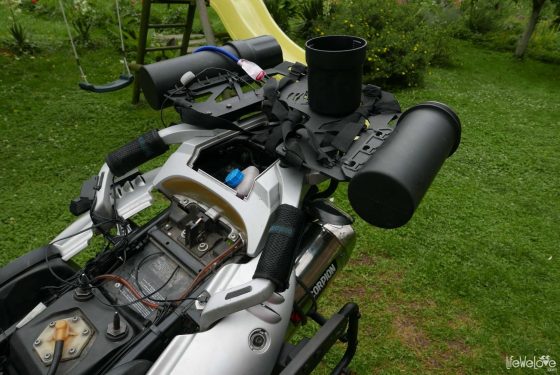
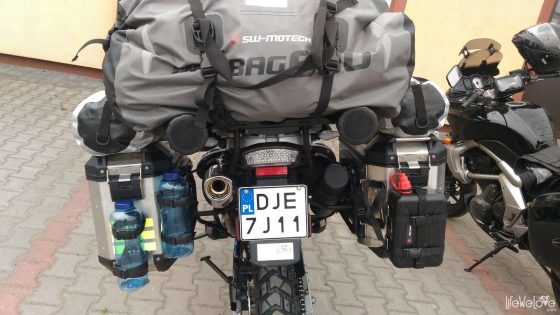
Getting rid of the scrap in the form of original silencers, a vacant space appeared on the back of a hank by the right, where I could put a tool tube and put in there some tools. I bought a tube dedicated to motorcycles on Ebay for about 25 euros. Then I bought two tubes for tractors documents for 11 euros per unit. The difference between the motorcycle tubes and for tractors is in the holder. I liked the tractors holders because I fastened them on cargo board to the back of the bag. Previously, I had a problem with a large bag (60 L), which fell on the turn lights and covered them. Instead of lengthening a slate, which would appear too long and turn a motorcycle into how the aircraft looks, I added two tubes on the sides to gain additional space for tools and other items. Additionally, detachable part of the tube is a great cup to loosened screws.
The BMW F650 GS Dakar has standard heated grips so I’m not worried about freezing hands, but I also installed something for a passenger so that Liwia could also warm her hands. Previously, I played in the making of heated passenger paddles from heaters of car mirrors insulated with a tape and connected by a switch to the battery. The idea did not work out, because the heaters were poorly heating up. So I bought Oxford heating grip pads and I put them on the passenger’s handles. I also installed a holder’s switch so that Liwia could turn it on whenever she wanted. Overlays are placed on the long cord, so she can even detach them, squeeze them and tuck into the pockets of my jacket, that are even warmer.
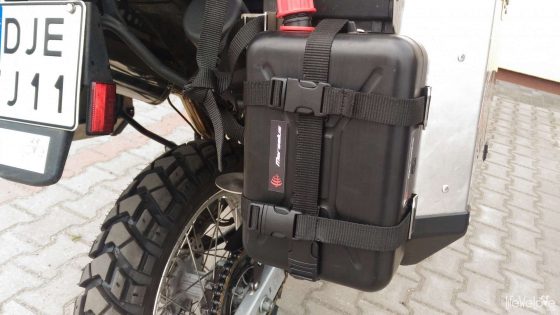
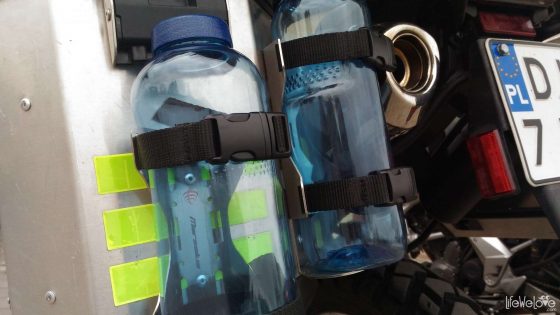
One of the advantages of small-GS with engine-driven Rotax is its burning. Result of 3.8 liters per 100 km is cheap for the pocket and a range of up to 400 km route. We are additionally secured though, taking a 2-liter can of petrol, which will allow us to ride an additional 50 km. I also installed bottle holders, so that we can carry water or more fuel if needed. Bottle holders and a canister holder are attached to the rear of the trunks rivets. These important accessories were given to us by Marselus company specializing in making additions to the enduro motorcycles. The handles are professionally made and very solid, with a stainless steel, so that they can survive any conditions.
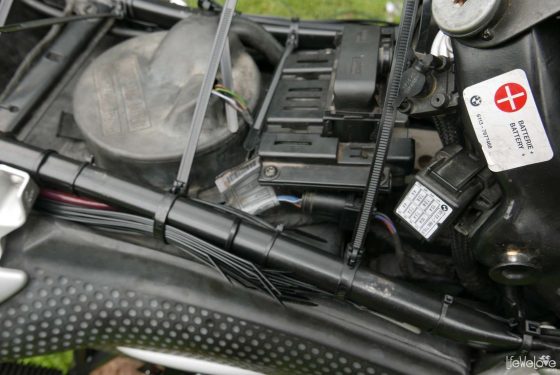
And of course I equipped our motorcycle with cable ties. So to not carry them in the bags and trunks I stuck them to the frame under the motorcycle couch. To attach them I used zip ties to be able to add new ones along the way if necessary.
What else did I check and do with the motorbike before leaving?
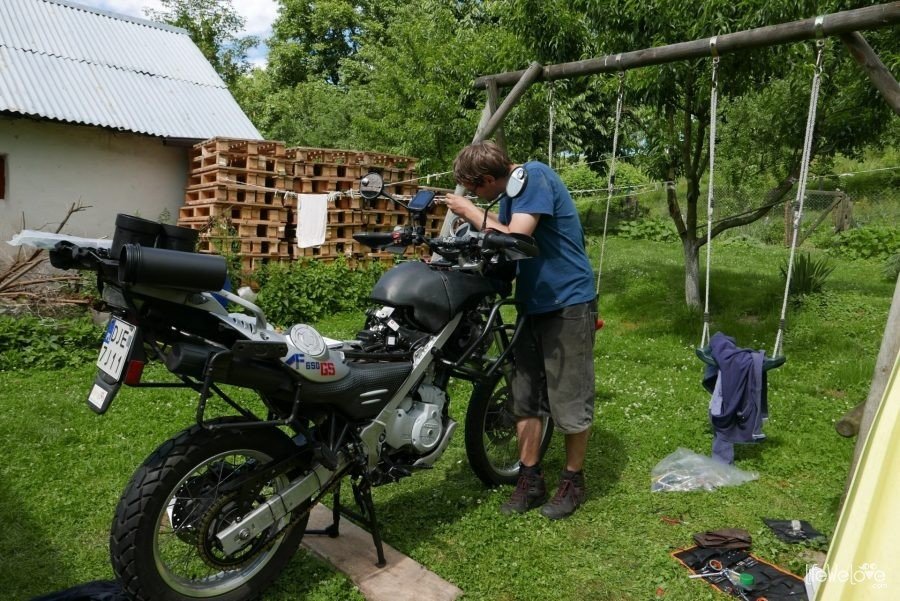
1. Looked through the installation to check if there are abrasions and frayed cables somewhere.
2. Purged all the connectors, contacts, cubes and relays with the Kontact S. confection.
3. Soldered all the new installations, which I once did not too well.
4. Tightened all the screws.
5. Stuck together the amortized rubbers in the side racks to cases using a fast glue because there is always a problem with them, they fall out somewhere. We’ll see if the glue helps.
6. Powered a battery and refilled it with distilled water.
7. Installed the Ikol locator that continuously displays our position and can be used to find the bike in case of a theft.
8. Checked if the thermostat was working properly.
9. Nicely washed the bike and sent across the ocean to finally ride on it across the US. :)



Renata
Good job and useful info! Thanks for sharing.
Joki
You are welcome :)
viking1
Great info. Which make of screen is that? I guess your model is 2005+ given there are 4 screws.
Joki
Our Dakar model is 2005. The original screen is useless so we ordered a better one from Polish company. They made for the same screen like the older models (2000-2003) without holes for screws. I drilled holes and put screen :)
viking1
Interesting do you have a link? I agree the original is bad, I have it!
Joki
Yes, we have a link. We bough it from this company: https://www.mgg.com.pl/eng/index.html
viking1
Thanks for the tip!
Vangelis
Very nice and detailed description that got me excited! What about the pannier bags that are attached onto the Heed guards? What brand/make are they? I know that Heed provide a pair for their guards but those you have don’t look like Heed ones!
Thanks and keep inspiring us with your adventures on 2 wheels!
Livia
Hi Vangelis, oh no, we lost a track of comments on our blog for a bigger while. I apologize for such a late reply. If I remember well they were KAPPA KMS36A model. We also wish you happy travels on 2 wheels, all the best :)
rob
Hi
do you already have the bike?
However, i like very much your windscreen. Did you modify it or it it an aftermarket one?
For me, the original one is a bit too low
rob
Hi
do you already have the bike?
rob
sorry, do you STILL have this bike?
Livia
Hi Rob, unfortunately we don’t have it any more :( And yes, we did modify the screen, just like Joki described it in the comments above.
Adrian Jones
I’m 73 yrs and back to motorcycling after 42 yrs. It’s also an f650gs from 2005. Fitting TFX suspension with progressives front has transformed the bike – thanks for a great tip.
What a joy and inspiration to read of your travels together. Stay safe, healthy and beautiful! Every good wish from Adrian.
Livia
Hi Adrian, we’re glad we could help and inspire. Thank you a lot for motivating words. Now, when you’re back on a motorcycle, so many wonderful adventures are ahead of you! Enjoy and be safe :)